This is the second post in a series of articles on securing Apache Hive. The first post looked at installing Apache Hive and doing some queries on data stored in HDFS. In this post we will show how to add authorization to the previous example using Apache Ranger.
1) Install the Apache Ranger Hive plugin
If you have not done so already, please follow the first post to install and configure Apache Hadoop and Apache Hive. Next download Apache Ranger and verify that the signature is valid and that the message digests match. Due to some bugs that were fixed for the installation process, I am using version 1.0.0-SNAPSHOT in this post. Now extract and build the source, and copy the resulting plugin to a location where you will configure and install it:
2) Create authorization policies in the Apache Ranger Admin console
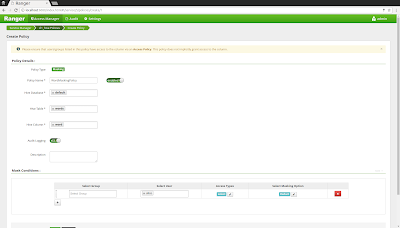
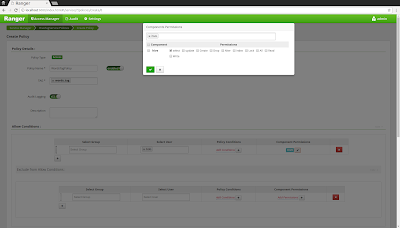
Next we will use the Apache Ranger admin console to create authorization policies for Apache Hive. Follow the steps in this tutorial to install the Apache Ranger admin service. Start the Ranger admin service via 'sudo ranger-admin start' and open a browser at 'http://localhost:6080', logging on with the credentials 'admin/admin'. Click the "+" button next to the "HIVE" logo and enter the following properties:
![]()
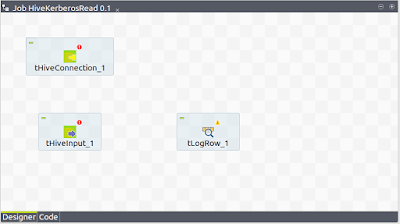
3) Test authorization with Apache Hive
Once our new policy has synced to '/etc/ranger/cl1_hive/policycache' we can test authorization in Hive. The user 'alice' can query the table according to our policy:
1) Install the Apache Ranger Hive plugin
If you have not done so already, please follow the first post to install and configure Apache Hadoop and Apache Hive. Next download Apache Ranger and verify that the signature is valid and that the message digests match. Due to some bugs that were fixed for the installation process, I am using version 1.0.0-SNAPSHOT in this post. Now extract and build the source, and copy the resulting plugin to a location where you will configure and install it:
- mvn clean package assembly:assembly -DskipTests
- tar zxvf target/ranger-1.0.0-SNAPSHOT-hive-plugin.tar.gz
- mv ranger-1.0.0-SNAPSHOT-hive-plugin ${ranger.hive.home}
- POLICY_MGR_URL: Set this to "http://localhost:6080"
- REPOSITORY_NAME: Set this to "cl1_hive".
- COMPONENT_INSTALL_DIR_NAME: The location of your Apache Hive installation
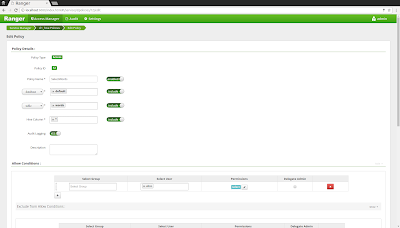
2) Create authorization policies in the Apache Ranger Admin console
Next we will use the Apache Ranger admin console to create authorization policies for Apache Hive. Follow the steps in this tutorial to install the Apache Ranger admin service. Start the Ranger admin service via 'sudo ranger-admin start' and open a browser at 'http://localhost:6080', logging on with the credentials 'admin/admin'. Click the "+" button next to the "HIVE" logo and enter the following properties:
- Service Name: cl1_hive
- Username/Password: admin
- jdbc.url: jdbc:hive2://localhost:10000
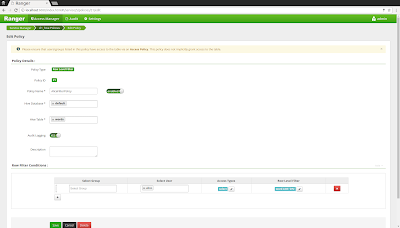
- Policy Name: SelectWords
- database: default
- table: words
- Hive column: *
3) Test authorization with Apache Hive
Once our new policy has synced to '/etc/ranger/cl1_hive/policycache' we can test authorization in Hive. The user 'alice' can query the table according to our policy:
- bin/beeline -u jdbc:hive2://localhost:10000 -n alice
- select * from words where word == 'Dare'; (works)
- bin/beeline -u jdbc:hive2://localhost:10000 -n alice
- select * from words where word == 'Dare'; (fails)